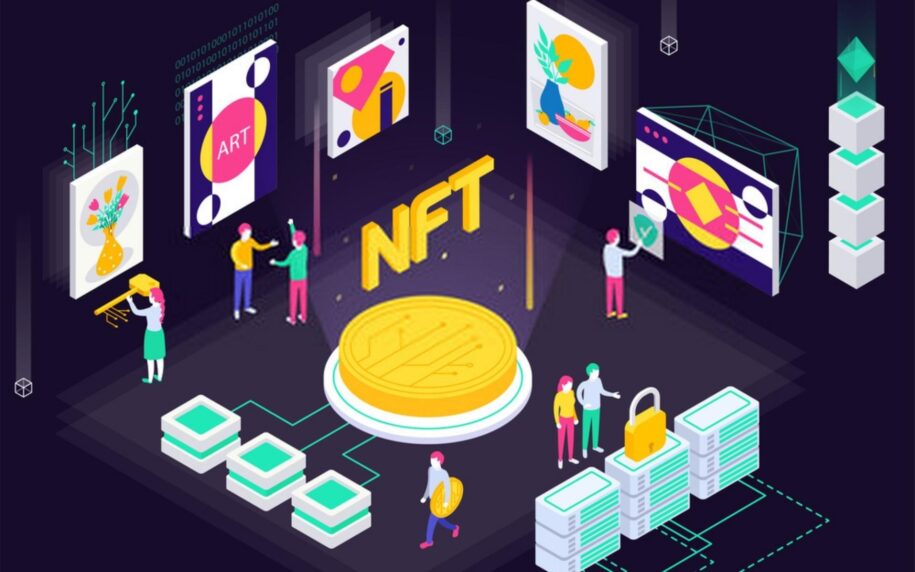
NFT marketplaces have become a popular way for designers, artists, and other creative types to monetize their work. Creators can sell unique products and digital or physical items to customers with an NFT. They also have verifiable proof that they own the rights.
This guide will show you how to use several WordPress and WooCommerce plugins to create a marketplace that sells NFTs and NFT collections.
What is NFT?
Non-fungible tokens (NFTs) are digital or physical assets that can’t be divided. Each item is an individual asset that cannot be replaced or exchanged for another.
NFTs can be stored decentralized using services like InterPlanetary File System or blockchain technology. This makes it impossible to delete assets. This protects the rights and allows all to view the history and details of the asset.
NFT creators can program the Blockchain to perform different functions for their tokens. Smart contracts are used to enforce the underlying process of the pass. The rules for the access are set up once they have been programmed.
NFT platforms may accept fiat currencies like the US dollar. Many are purchased and sold using the native cryptocurrency to the token’s Blockchain. The most used cryptocurrency on NFT marketplaces is Ether (ETH), as Ethereum is the most widely used Blockchain for NFTs.
To exchange NFTs using cryptocurrency, users need to create a wallet. These wallets hold the keys that allow you to access the coin required for the transaction. The wallet also contains the NFT token, which is usually kept after the sale.
Many NFT marketplaces offer royalty functionality, which allows the creator of NFTs to receive a portion of each sale. These residuals cannot be retained if an asset is sold. The creator cannot earn royalties if the token is removed from the market.
Make money by selling products your way.
Our Managed WordPress eCommerce comes with more than $5,000 worth of premium WooCommerce extensions. This will allow you to sell products in your way and add customization.
If you have a store that needs extensions, it can cost hundreds to even thousands of dollars per annum.
With our Managed WordPress eCommerce, you can create the exact store you need to sell subscriptions, book appointments, and enable digital downloads. You also get access to over $5,000 worth of premium WooCommerce extensions.
The most popular NFTs
Digital Artwork
Digital art is the most common type of NFT today. NFT art pieces have been known to sell for ridiculously high prices. These pieces often come as part of a more extensive collection that has a predetermined amount.
Some projects offer additional benefits and utility that add value to token holders. Collections will allow holders to access exclusive events and private discord.
Gaming NFTs
Gaming NFTs allow players to have various digital assets in-game. This could be an item or a skin for a character, or even the character itself. Virtual land NFTs allow you to purchase a piece of land in the VR metaverse, which can be used for different blockchain-based games.
Social media posts and Texts
Creators can now sell any content and objects that were not previously possible to monetize with NFTs. Common is messaging, such as tweets or texts. A person with a large following can take a photo of one of their communications and make it official NFT.
Sports
Sports collectibles are another popular type of NFT. These items can be used as digital trading cards. The NBA launched its digital collection line, and Tom Brady, the future Hall of Fame quarterback, has created his own NFT platform for selling sports collectibles.
Setting up your NFT Shop
A WordPress plugin is required to transform your WooCommerce store into an NFT marketplace. We will show you how to set up your WooCommerce store using Tatum NFT or WP Smart Contracts.
Tatum NFT
Tatum a platform for developers that connects with different blockchains via APIs, is Tatum. Their WordPress NFT plugin and WooCommerce allow you to create, mint or sell NFTs directly from your website. Here are the different blockchains that the app supports.
To get started, you will need to download the WordPress plugin.
Once you have downloaded the extension, you’ll be able to go to Tatum’s homepage to create an account and obtain your API key. Click To get your API key,
Next, you’ll be asked to create an account. This can be done by entering your email address or using an SSO to your Google or Facebook account.
After logging in, choose to Create an API key. Then you will be prompted to select a plan. Select the plan that best suits your needs, and you will be prompted to choose a plan. Enter your API name, select a region and choose a network.
Once you have created your key, go back to WooCommerce and NFT Maker. Select the plan level you wish to purchase in the section. To be eligible to pay the gas costs to mint your tokens, you must enroll in a premium plan.
The Blockchain you use will determine how many tokens you can mint each month. Different blockchains have different fees. Some fees are significantly higher than others. You will be able to mint fewer tokens if you use a blockchain that has high gas.
After selecting a plan, you will be taken to your Tatum dashboard. Here you can enter your payment details. Once you have confirmed the details, an API key will be generated for your plan. It can be found in the API Keys section on the Tatum dashboard.
You will find the newly created API under Your API keys. To reveal the code, click Show. Scroll down to step 2 in WordPress. Enter your API key.
Creating NFT products
Go to WooCommerce and click Add Product. Scroll down to the product data tab, locate the NFT Maker section, and select the Blockchain to mint your NFT. A new token will be created when you publish your product.
Once your products have been made life, customers will be able to complete their purchase by adding the product to their cart and starting the checkout process. Customers will need to provide their details and include the blockchain address where they would like to receive the NFT.
The tokens will be sent to the customer’s address once the order has been placed and paid. The customer will be able to access the blockchain explorer via a link provided on the order confirmation page. They can then view and verify all transaction details.
API calls can be used to create and deploy royalty NFTs. This will create a standard, validated NFT smart contract and deploy it to the chosen Blockchain. These parameters include the name, symbol, and initial supply of tokens.
Create a fixed price asset listing
Once you have created your marketplace, you can allow customers to browse and purchase your NFTs. Before making an NFT listing, you must send your NFT assets to the seller’s address. The seller can set the listing’s price. A unique listing must be included for each listing. It is used to identify the listing and any other operations.
Here is an example of how to use the API to create fixed-price listings:
curl –location –request POST ‘https://api-eu1.tatum.io/v3/blockchain/marketplace/listing/sell’ \
–header ‘Content-Type: application/json’ \
–header ‘x-api-key: YOUR_API_KEY’ \
–data-raw ‘{
“contractAddress”: “0x4153B909f55B0Ec43c11e980dF09b853477D9F79”,
“nftAddress”: “0x6d8eae641416b8b79e0fb3a92b17448cfff02b11”,
“tokenId”: “12”,
“listingId”: “1”,
“isErc721”: true,
“price”: “0.001”,
“seller”: “0x80D8BAc9a6901698b3749Fe336bBd1385C1f98f2”,
“chain”: “MATIC”,
“fromPrivateKey”: “0x37b091fc4ce46a56da643f021254612551dbe0944679a6e09cb5724d3085c9ab”
}’
The listing will then be available on the marketplace. The seller will need to send the NFT asset via email to the market to activate the listing. The NFTs can be used in conjunction with ERC-721 or ERC-1155.
Mint NFTs
After your smart contract has been deployed, you can issue tokens using Mint NFT. Each ticket must have metadata in a JSON schema that includes additional details about the asset, such as title, description, and image URL.
You will need to set the properties authorAddresses, and moneybackValues in order to enable the royalty feature. After each token is transferred, you can set who will receive cashback. Recipients can earn a steady residual income because the values are indestructible.
The blockchain’s underlying holds the values.
curl –location –request POST ‘https://api-eu1.tatum.io/v3/nft/mint’ \
–header ‘x-api-key: YOUR_API_KEY’ \
–header ‘Content-Type: application/json’ \
–data-raw ‘{
“tokenId”: “1”,
“to”: “0x8cb76aed9c5e336ef961265c6079c14e9cd3d2ea”,
“chain”: “CELO”,
“contractAddress”: “0xd2A6B389eBE69208636B20b2abAcFC1eE0C3fF57”,
“cashbackValues”: [“1”],
“authorAddresses”: [“0x8cb76aed9c5e336ef961265c6079c14e9cd3d2ea”],
“url”: “https://my_token_data.com”,
“fromPrivateKey”: “0x4874827a55d87f2309c55b835af509e3427aa4d52321eeb49a2b93b5c0f8edfb”,
“feeCurrency”: “CUSD”,
“erc20”: “0x1410d4ec3d276c0ebbf16ccbe88a4383ae734ed0”
}’
You can use the Transfer NFT endpoint to transfer tokens to another blockchain. You will need the private keys of the destination wallet address to do this. The value of the transaction must also be entered. This is the number of royalties that should go to the token creator.
WP Smart contracts
WP Smart Contract is a WordPress plugin that allows you to create an NFT store, including assets on the Ethereum (BSC), Binance Smart Chains (BSC), Matic, and xDai chains.
To configure the plugin, you will need to download it.
You will choose the appearance of your marketplace in the Skin section. You have four options. The setting can be applied worldwide.
After setting up the settings, you can start creating your marketplace. Click To add a new collection.
Scroll down to the flavor section and select Matcha. Matcha is an ERC721 Marketplace smart contract that can be deployed on these blockchains.
The smart contract can now be set up with the attributes you need. You will need to give a name, a symbol, and a percentage for sales or auction commissions.
You can also configure the security option below to control who can mint tokens for the contract. To allow token creation in the marketplace, you must define user roles.
Next, you will need to specify the interface for your NFT market. The interface for an asset’s token creator is only accessible by default. Anyone can edit the font end of any item.
After setting up your Smart contract design, you can start to deploy them. Click Deployment to find the network that will host your contract. Click Deployment to confirm your selections.
After the Deployment is complete, click on the link for the smart contract address to view the contact information. You can also view and interact with the UI by adding a permalink to your collection.
Leave a Reply